Table of Contents
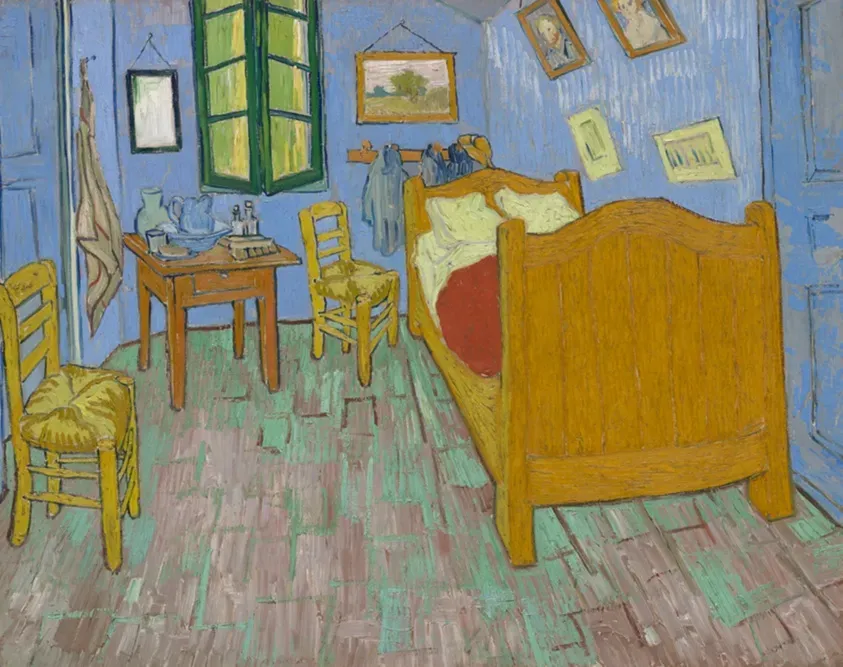
Let's face it, staring at the same tired dresser or nightstand day in and day out can make your bedroom feel less like a sanctuary and more like a holding cell for outdated wood tones. Buying all new furniture? Unless you just won the lottery, that's probably not happening. But what if you could give your space a serious facelift without emptying your bank account? That’s where brilliantpainted bedroom furniture ideascome in. A little paint, a bit of effort, and suddenly that piece you were ready to haul to the curb becomes the star of the room. Think of it as recycling, but way more glamorous and significantly less dusty. This isn't about slapping on a single coat and calling it a day; it's about strategic color choices, smart prep work, and finding that perfect finish that speaks to your style. Whether you're aiming for a moody dramatic feel, a bright and airy vibe, or something entirely unique, painting your bedroom furniture offers a path to a custom look that store-bought pieces just can't match. We'll walk through why this DIY approach makes sense, how to actually get the paint on the piece without making a total mess, and dish out some serious inspiration to get your creative wheels turning.
Why Painting Your Bedroom Furniture is a Smart Move
Why Painting Your Bedroom Furniture is a Smart Move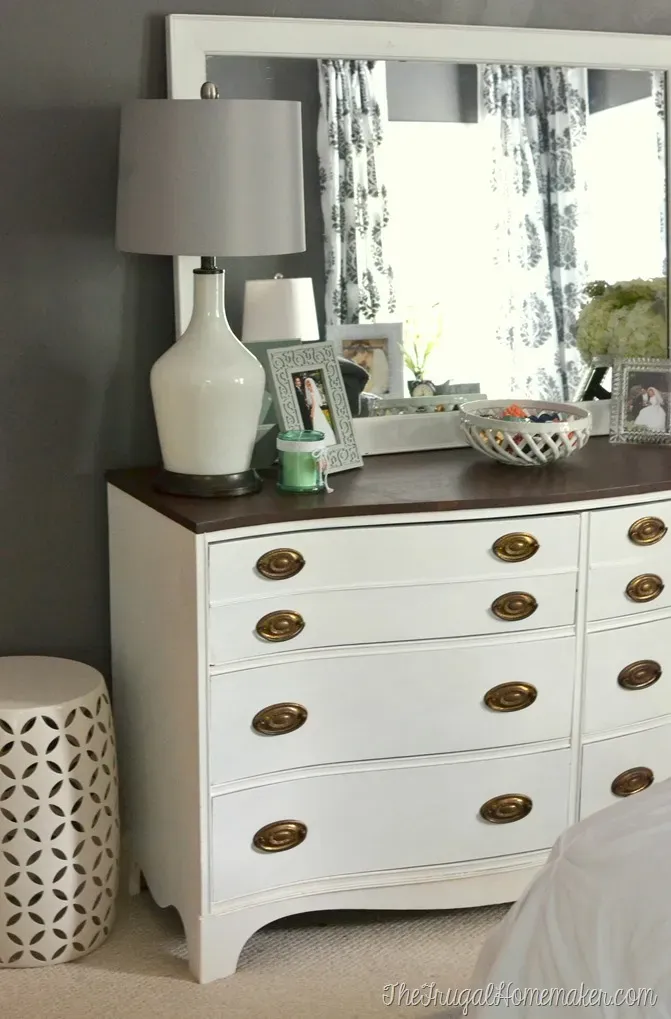
Save Your Wallet, Style Your Space
Let's be real, furniture costs a fortune these days. A halfway decent dresser can set you back hundreds, sometimes thousands, of dollars. And for what? Something everyone else has? That's whereWhy Painting Your Bedroom Furniture is a Smart Movebecomes glaringly obvious. Instead of dropping serious cash on new pieces, you can grab a can of paint for twenty bucks, maybe fifty if you're feeling fancy with specialty finishes, and completely transform what you already own. Or, hit up a thrift store or garage sale. You can find solid wood pieces for a steal – often better quality than particleboard junk – and give them a second life. You’re not just saving money; you're investing in a custom look that fits your personality, not some mass-produced catalog image.
Give Old Pieces a New Story
We all have that one piece. Maybe it was your grandma's dresser, maybe you found it on the side of the road (hey, no judgment!), but it's seen better days. The finish is scratched, the color is dated, and it just sits there, taking up space. Painting isn't just covering up flaws; it's a total reinvention. You take something old, maybe even ugly, and turn it into something beautiful and functional again. There's a real sense of accomplishment in that. You rescued it, you put in the work, and now it's a statement piece you actually love looking at. It’s furniture with a history, now updated for your modern life. It's a practical skill that pays off, literally and aesthetically.
- Painting costs significantly less than buying new furniture.
- It allows for complete customization of color and finish.
- You can rescue and repurpose older, potentially higher-quality pieces.
- DIY painting provides a sense of accomplishment.
- It's an eco-friendly way to update your decor.
Getting Started: Prepping and Painting Your Pieces
Getting Started: Prepping and Painting Your Pieces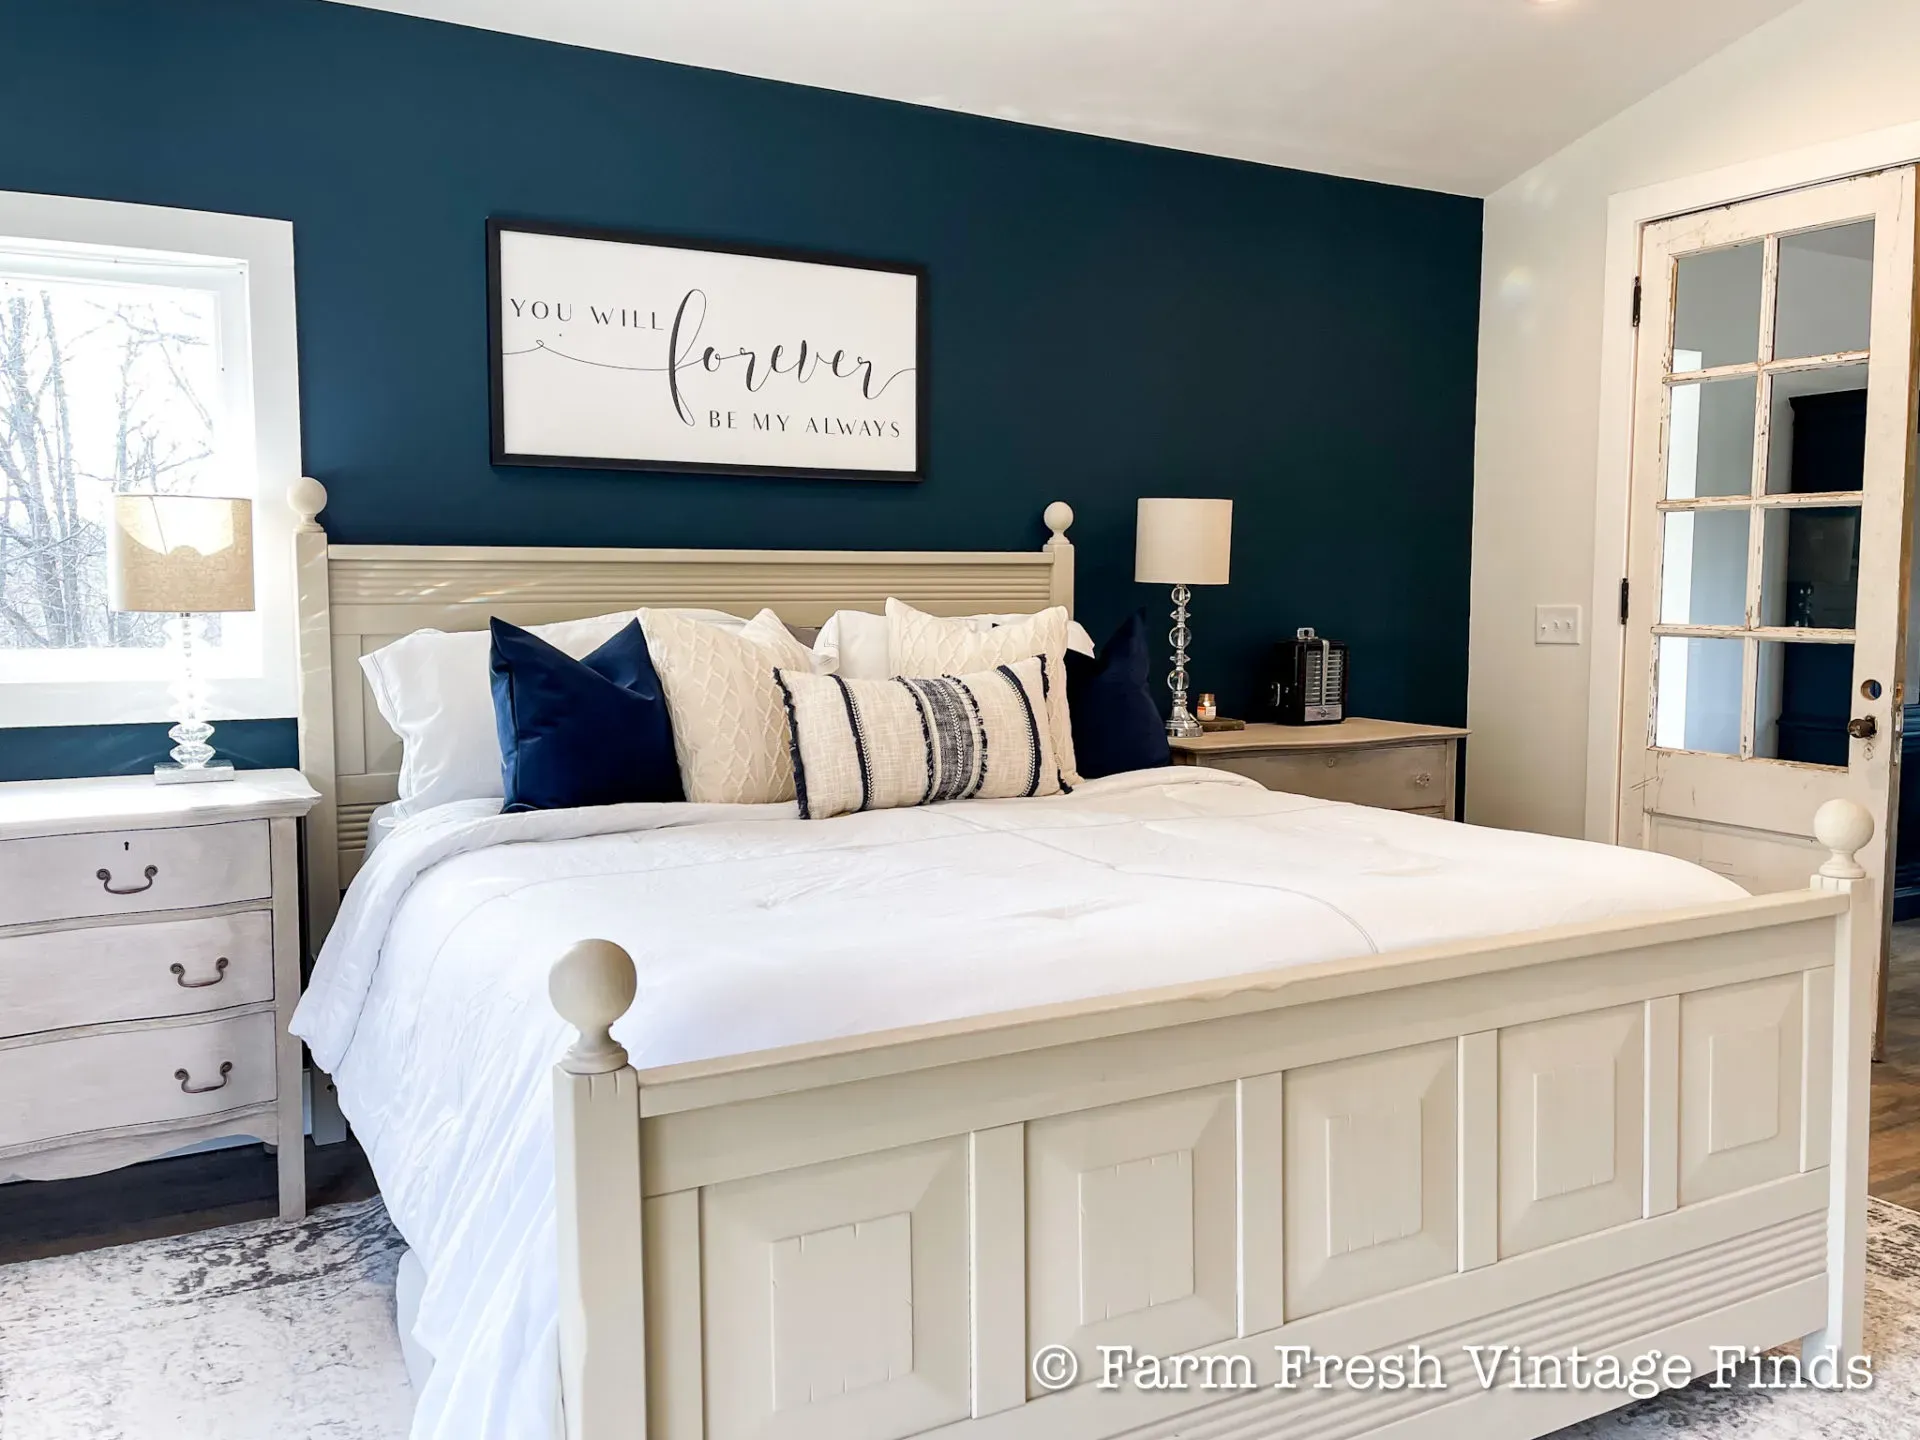
Clean It Up Before You Mess It Up
Alright, so you've got your piece. Maybe it's got sticky spots, years of dust bunnies, or that weird ring from a forgotten coffee cup. You cannot, under any circumstances, skip cleaning. Paint doesn't stick to grime, grease, or furniture polish. It will peel, it will chip, and you'll be left with a bigger mess than you started with. Grab some Krud Kutter, TSP, or even just good old soap and water, and give that furniture a serious scrub down. Get into all the nooks and crannies. Let it dry completely. Seriously, walk away, grab a snack, scroll through Instagram. Just make sure it’s bone dry before you even think about the next step.
Sand, Scuff, and Prime Time
Once it's clean, you need to give the paint something to grab onto. If your piece has a glossy finish, you *must* scuff sand it. A quick pass with 150 or 220 grit sandpaper will do the trick. You aren't trying to strip it down to bare wood, just create some tooth. Wipe off all the dust. Now, primer. This is non-negotiable for most pieces, especially if you're going from dark to light or if the original finish is questionable. A good quality primer blocks stains, prevents bleed-through (especially on old wood), and gives you a uniform surface for your paint color. Shellac-based primers are fantastic for blocking stubborn stains and odors. Water-based primers are easier clean-up. Pick one, apply a thin coat, and let it dry according to the can's instructions. Don't rush this part. Patience here saves you headaches later.
Prep Step | Why It Matters | What You Need |
|---|---|---|
Clean | Removes dirt, grease, and grime that prevent paint adhesion. | Cleaner (TSP, Krud Kutter), rags, water. |
Sand/Scuff | Creates a surface texture for paint to stick to, smooths imperfections. | Sandpaper (150-220 grit), sanding sponge, tack cloth or damp rag. |
Prime | Blocks stains, ensures even color, improves paint durability. | Quality primer (shellac or water-based), brush or roller. |
Ready, Set, Paint!
the boring but crucial prep is done. Now for the fun part: color! Choose a paint specifically designed for furniture or cabinets; these are usually more durable. Annie Sloan Chalk Paint is popular because it requires minimal prep, but you still need a topcoat. Acrylic or latex paints work too, but might need more sanding and definitely a good primer and topcoat. Apply thin, even coats. Two or three thin coats are always better than one thick, drippy mess. Let each coat dry completely before applying the next. Seriously, read the can. Drying times matter. Use a good quality brush for details and edges, and a small foam roller for flat surfaces to minimize brush strokes. And for heaven's sake, paint in a well-ventilated area or wear a mask. Those fumes are no joke.
Inspiring Painted Bedroom Furniture Ideas for Every Look
Inspiring Painted Bedroom Furniture Ideas for Every Look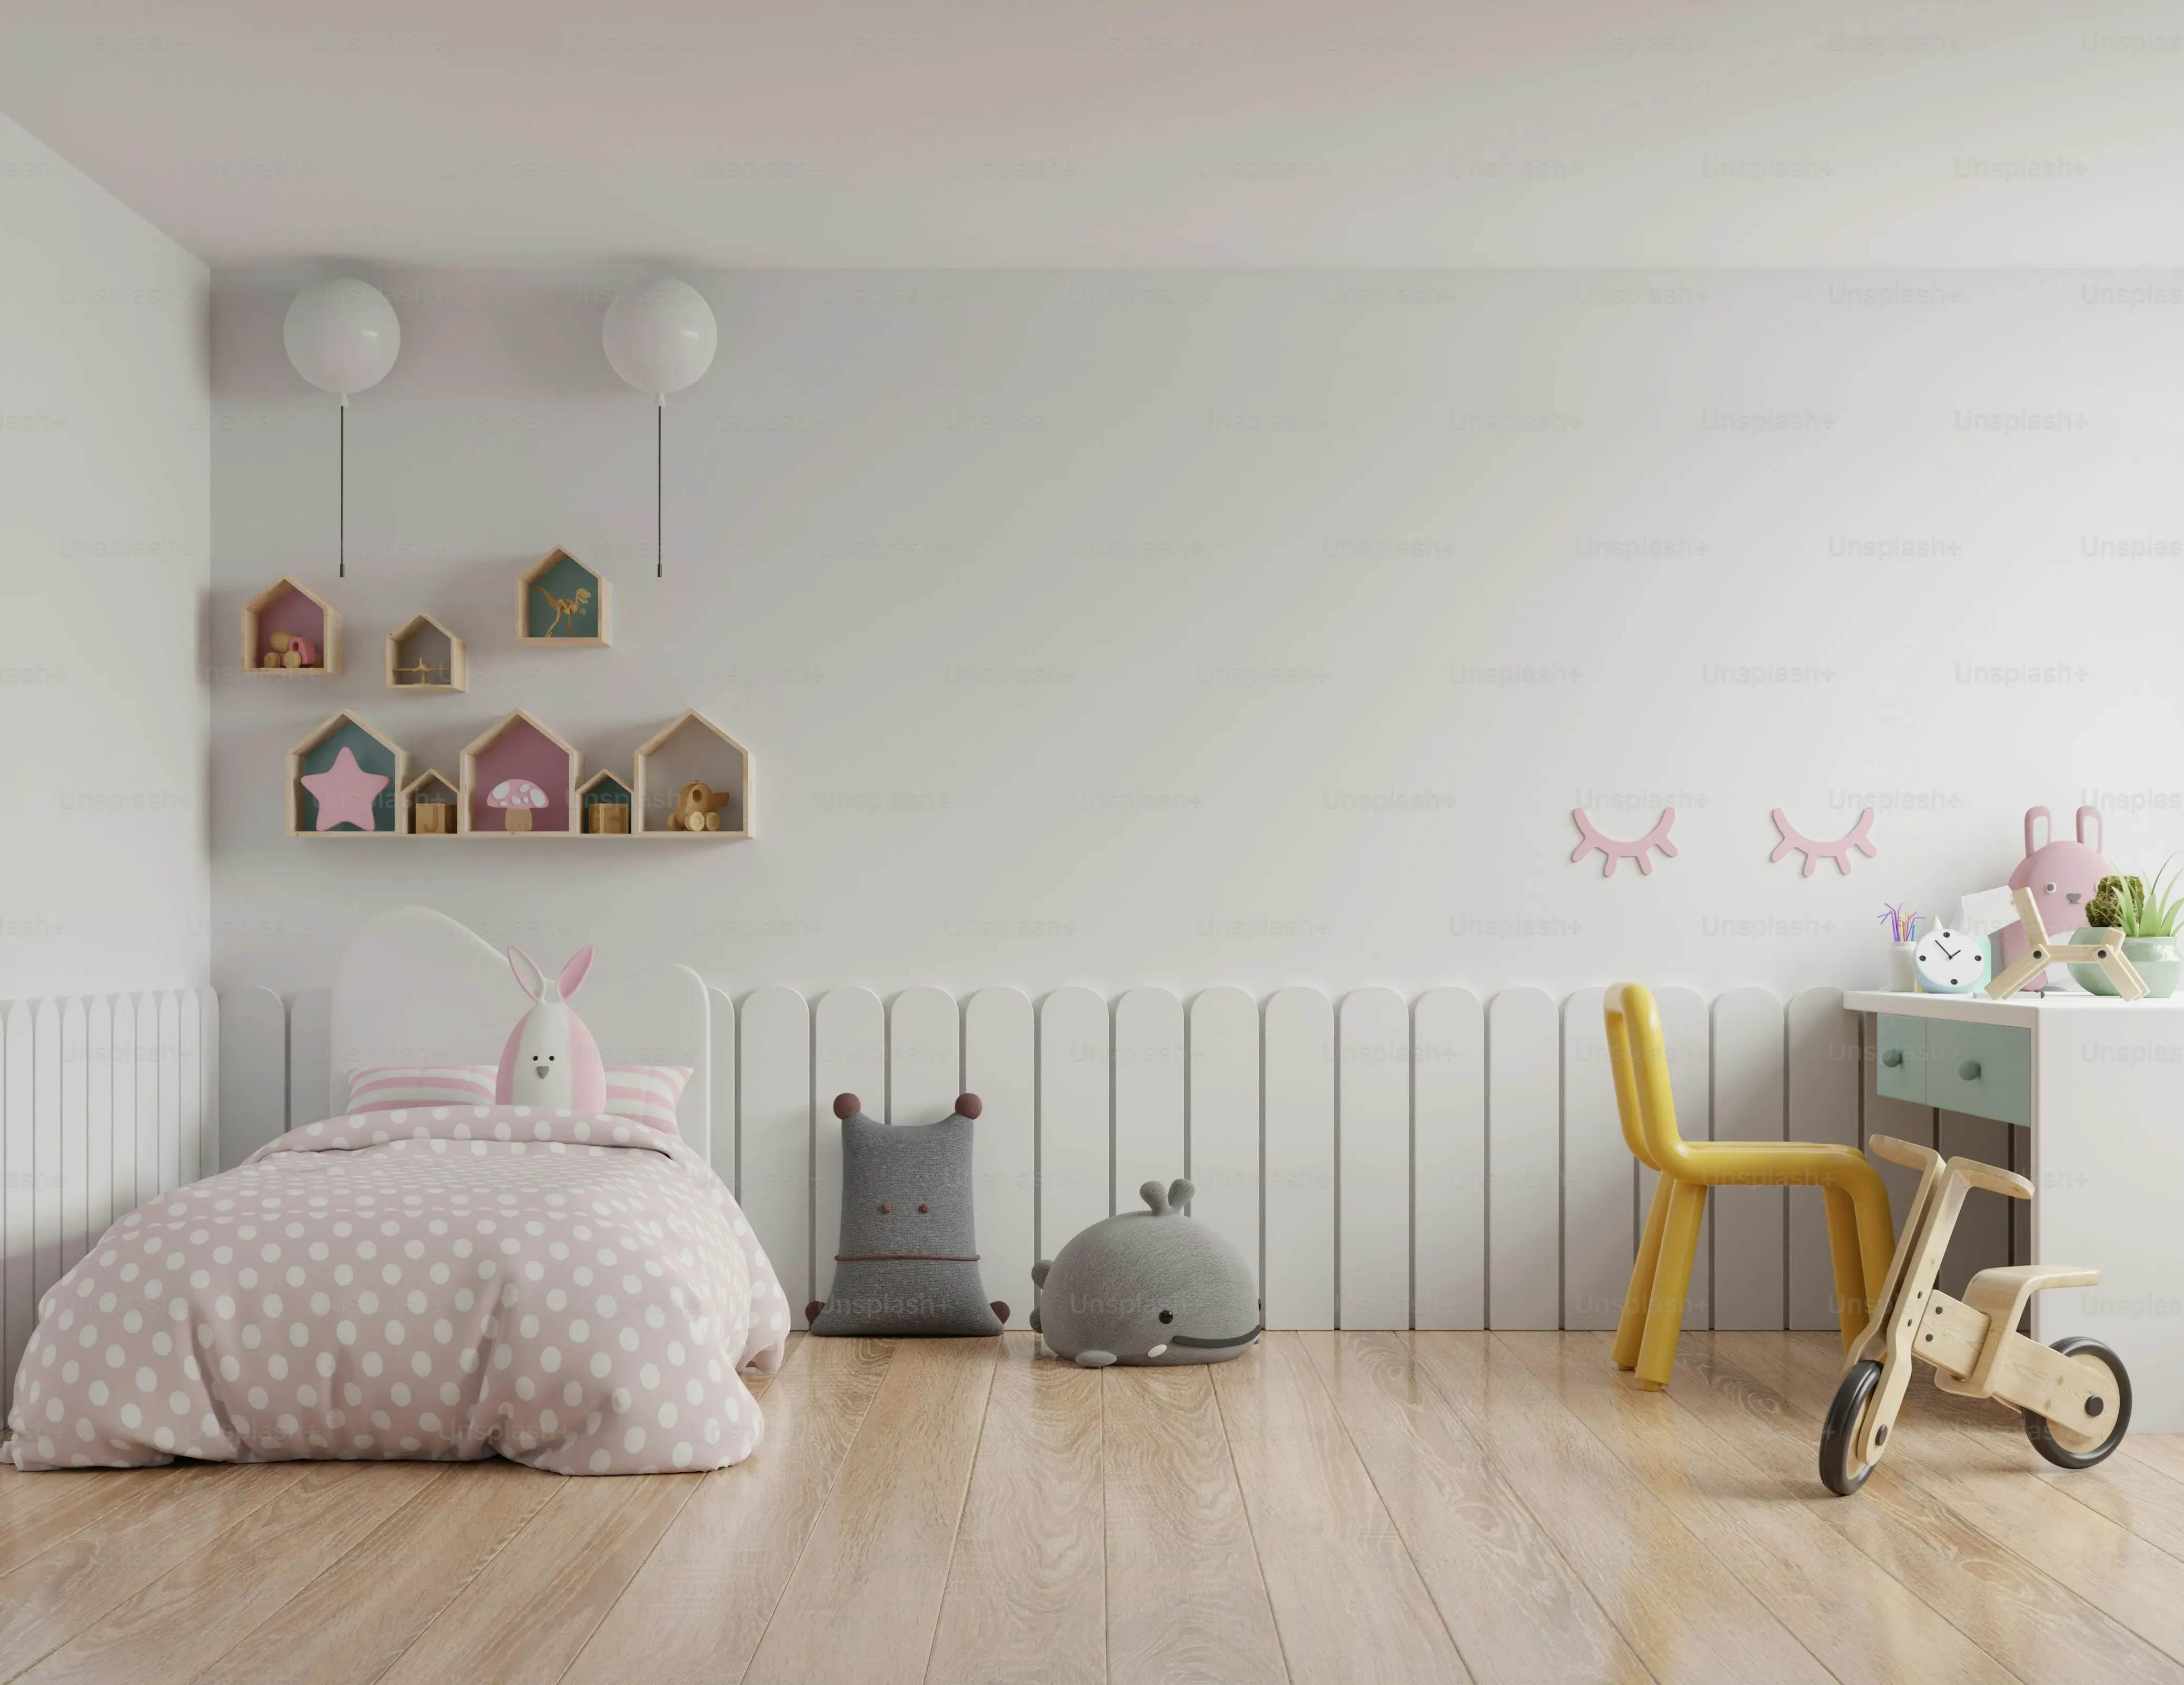
Classic Colors That Never Fail
Sometimes, the bestpainted bedroom furniture ideasare the simplest. A fresh coat of paint in a classic color can utterly transform a piece. Think crisp white for a clean, airy, farmhouse or coastal vibe. It instantly brightens up a room and makes furniture feel less heavy. Grey, from soft dove to deep charcoal, offers a sophisticated, versatile backdrop that pairs well with almost any decor style. Black is the ultimate power move – it adds instant drama, grounds a space, and makes hardware pop. A matte finish on black can feel modern and chic, while a slight sheen adds a touch of traditional elegance. These colors are popular for a reason; they work, they're timeless, and they let the lines of the furniture piece shine through.
Adding Character with Techniques
Beyond solid colors, paint is a tool for adding personality and history. Ever seen a piece that looks like it's been around forever, in the best possible way? That's often the magic of distressing. Sanding edges where natural wear would occur, or using a wax resist technique to create a chippy, layered paint look, can give a brand new piece instant character. Layering two different colors and then sanding through the top layer in spots reveals peeks of the color beneath, adding depth and visual interest. This approach works particularly well on pieces with interesting details or carvings, highlighting their form.
Here are a few popular techniques to consider:
- Distressing: Sanding paint off edges or raised areas for a worn look.
- Dry Brushing: Using minimal paint on a brush for subtle streaks and texture.
- Color Washing: Applying a thin, translucent layer of paint over a base for a soft, aged effect.
- Layering: Applying multiple colors and sanding through to reveal layers underneath.
- Glazing: Applying a translucent glaze (often tinted) over paint to deepen color and add age.
Go Bold or Add Fine Details
Feeling brave? Don't shy away from color! A dresser painted in a vibrant teal, sunny yellow, or deep emerald green can be the focal point of your bedroom. Consider painting just the body of a dresser one color and the drawer fronts another for a modern, two-tone effect. Or, paint the outside one color and the inside of drawers or cabinets a surprise pop of contrasting color. Stenciling is another fantastic way to add intricate patterns or motifs to drawer fronts or tabletops without needing an art degree. Metallic paints or waxes can elevate details like carvings or hardware, adding a touch of glamour or highlighting architectural features on the furniture. It's about treating your furniture like a canvas and letting your imagination run a little wild.
Your Painted Furniture Questions Answered
Your Painted Furniture Questions Answered
Will My Painted Furniture Last?
so you've put in the work, picked your color, and your piece looks amazing. Now you're probably wondering, "Is this going to hold up, or am I going to have chipped paint everywhere in a week?" Good question. The longevity of yourpainted bedroom furniture ideasreally boils down to the prep work (told you it was important!) and the topcoat you use. Paint alone, especially standard latex or acrylic, isn't designed for heavy-duty furniture use where things are constantly being set down, slid across, or bumped. A good quality topcoat is your best friend here. Polyurethane (water-based for less yellowing), polycrylic, or a durable furniture wax will seal your paint, protect it from scratches, and make it much easier to clean. Apply thin coats, let them dry completely between applications, and follow the product instructions. Don't skip this step unless you enjoy touch-ups every other day.
What If I Mess Up?
Look, nobody's perfect, especially on their first few furniture flips. Drips happen. You might miss a spot with the primer, and suddenly you have a weird stain bleeding through your beautiful white paint. Or maybe you get halfway through and decide you hate the color. It's not the end of the world, even if it feels like it in the moment. For drips or uneven spots, let the paint dry completely, then gently sand the offending area smooth and repaint. If you get bleed-through, you'll need to apply a stain-blocking primer over the spot (or the whole piece again, if it's bad) and then repaint. If you truly despise the color, well, that's the beauty of paint – you can always paint over it! Just make sure the existing paint is well-adhered and clean before starting round two. It's just paint; it's fixable.
Common Painted Furniture Fixes
- Drips/Runs: Let dry, sand smooth, reapply thin coat.
- Bleed-Through: Apply stain-blocking primer over the area, repaint.
- Chips/Scratches: Clean area, light sand, touch up paint, reapply topcoat.
- Uneven Finish: Ensure paint is mixed well, use thin coats, try a different application tool (brush vs. roller).
Give That Old Dresser a Second Act
So, there you have it. Painting your bedroom furniture isn't just a weekend project; it's a surprisingly effective way to completely change the feel of your personal space without taking out a second mortgage. We've talked through why it's worth the effort, how to avoid the common pitfalls of prep and painting, and tossed around a fewpainted bedroom furniture ideasto spark some inspiration. It might seem daunting at first – staring down a piece of furniture with a paintbrush in hand – but trust me, the payoff is real. That once-forgotten chest of drawers can become a statement piece, a pop of color, or just something that finally fits the look you're going for. Stop scrolling through expensive furniture websites and start looking at what you already own with fresh eyes. Grab some paint, put on some tunes, and give that old piece the glow-up it deserves. Worst case? You learn what *not* to do next time. More likely? You end up with a piece you actually love.