Table of Contents
Look around your bedroom. Does that dresser look a bit... sad? Maybe the nightstand has seen better days, sporting scratches and a finish that screams "outdated"? Buying new furniture is an option, sure, but your wallet might disagree. There's a smarter way to breathe life back into your personal sanctuary without taking out a second mortgage: revamp what you already own.
Why Bother Painting Your Bedroom Furniture?
Why Bother Painting Your Bedroom Furniture?
Ditch the Catalog, Save Your Cash
Let's be honest, furniture is expensive. Especially bedroom sets. Walk into a furniture store and you're looking at hundreds, if not thousands, for pieces that might not even be exactly what you want. Why bother painting your bedroom furniture when you could just buy new? Because that old dresser sitting in your attic or the nightstand you found at a garage sale for twenty bucks has good bones. It's probably solid wood, unlike some of the particleboard nightmares they sell today.
A little elbow grease and some paint can transform that forgotten piece into something that looks like it cost way more than it did. It's the ultimate budget hack for a bedroom refresh, turning potential landfill fodder into a stylish asset.
Make It Yours, Not Just Another Piece
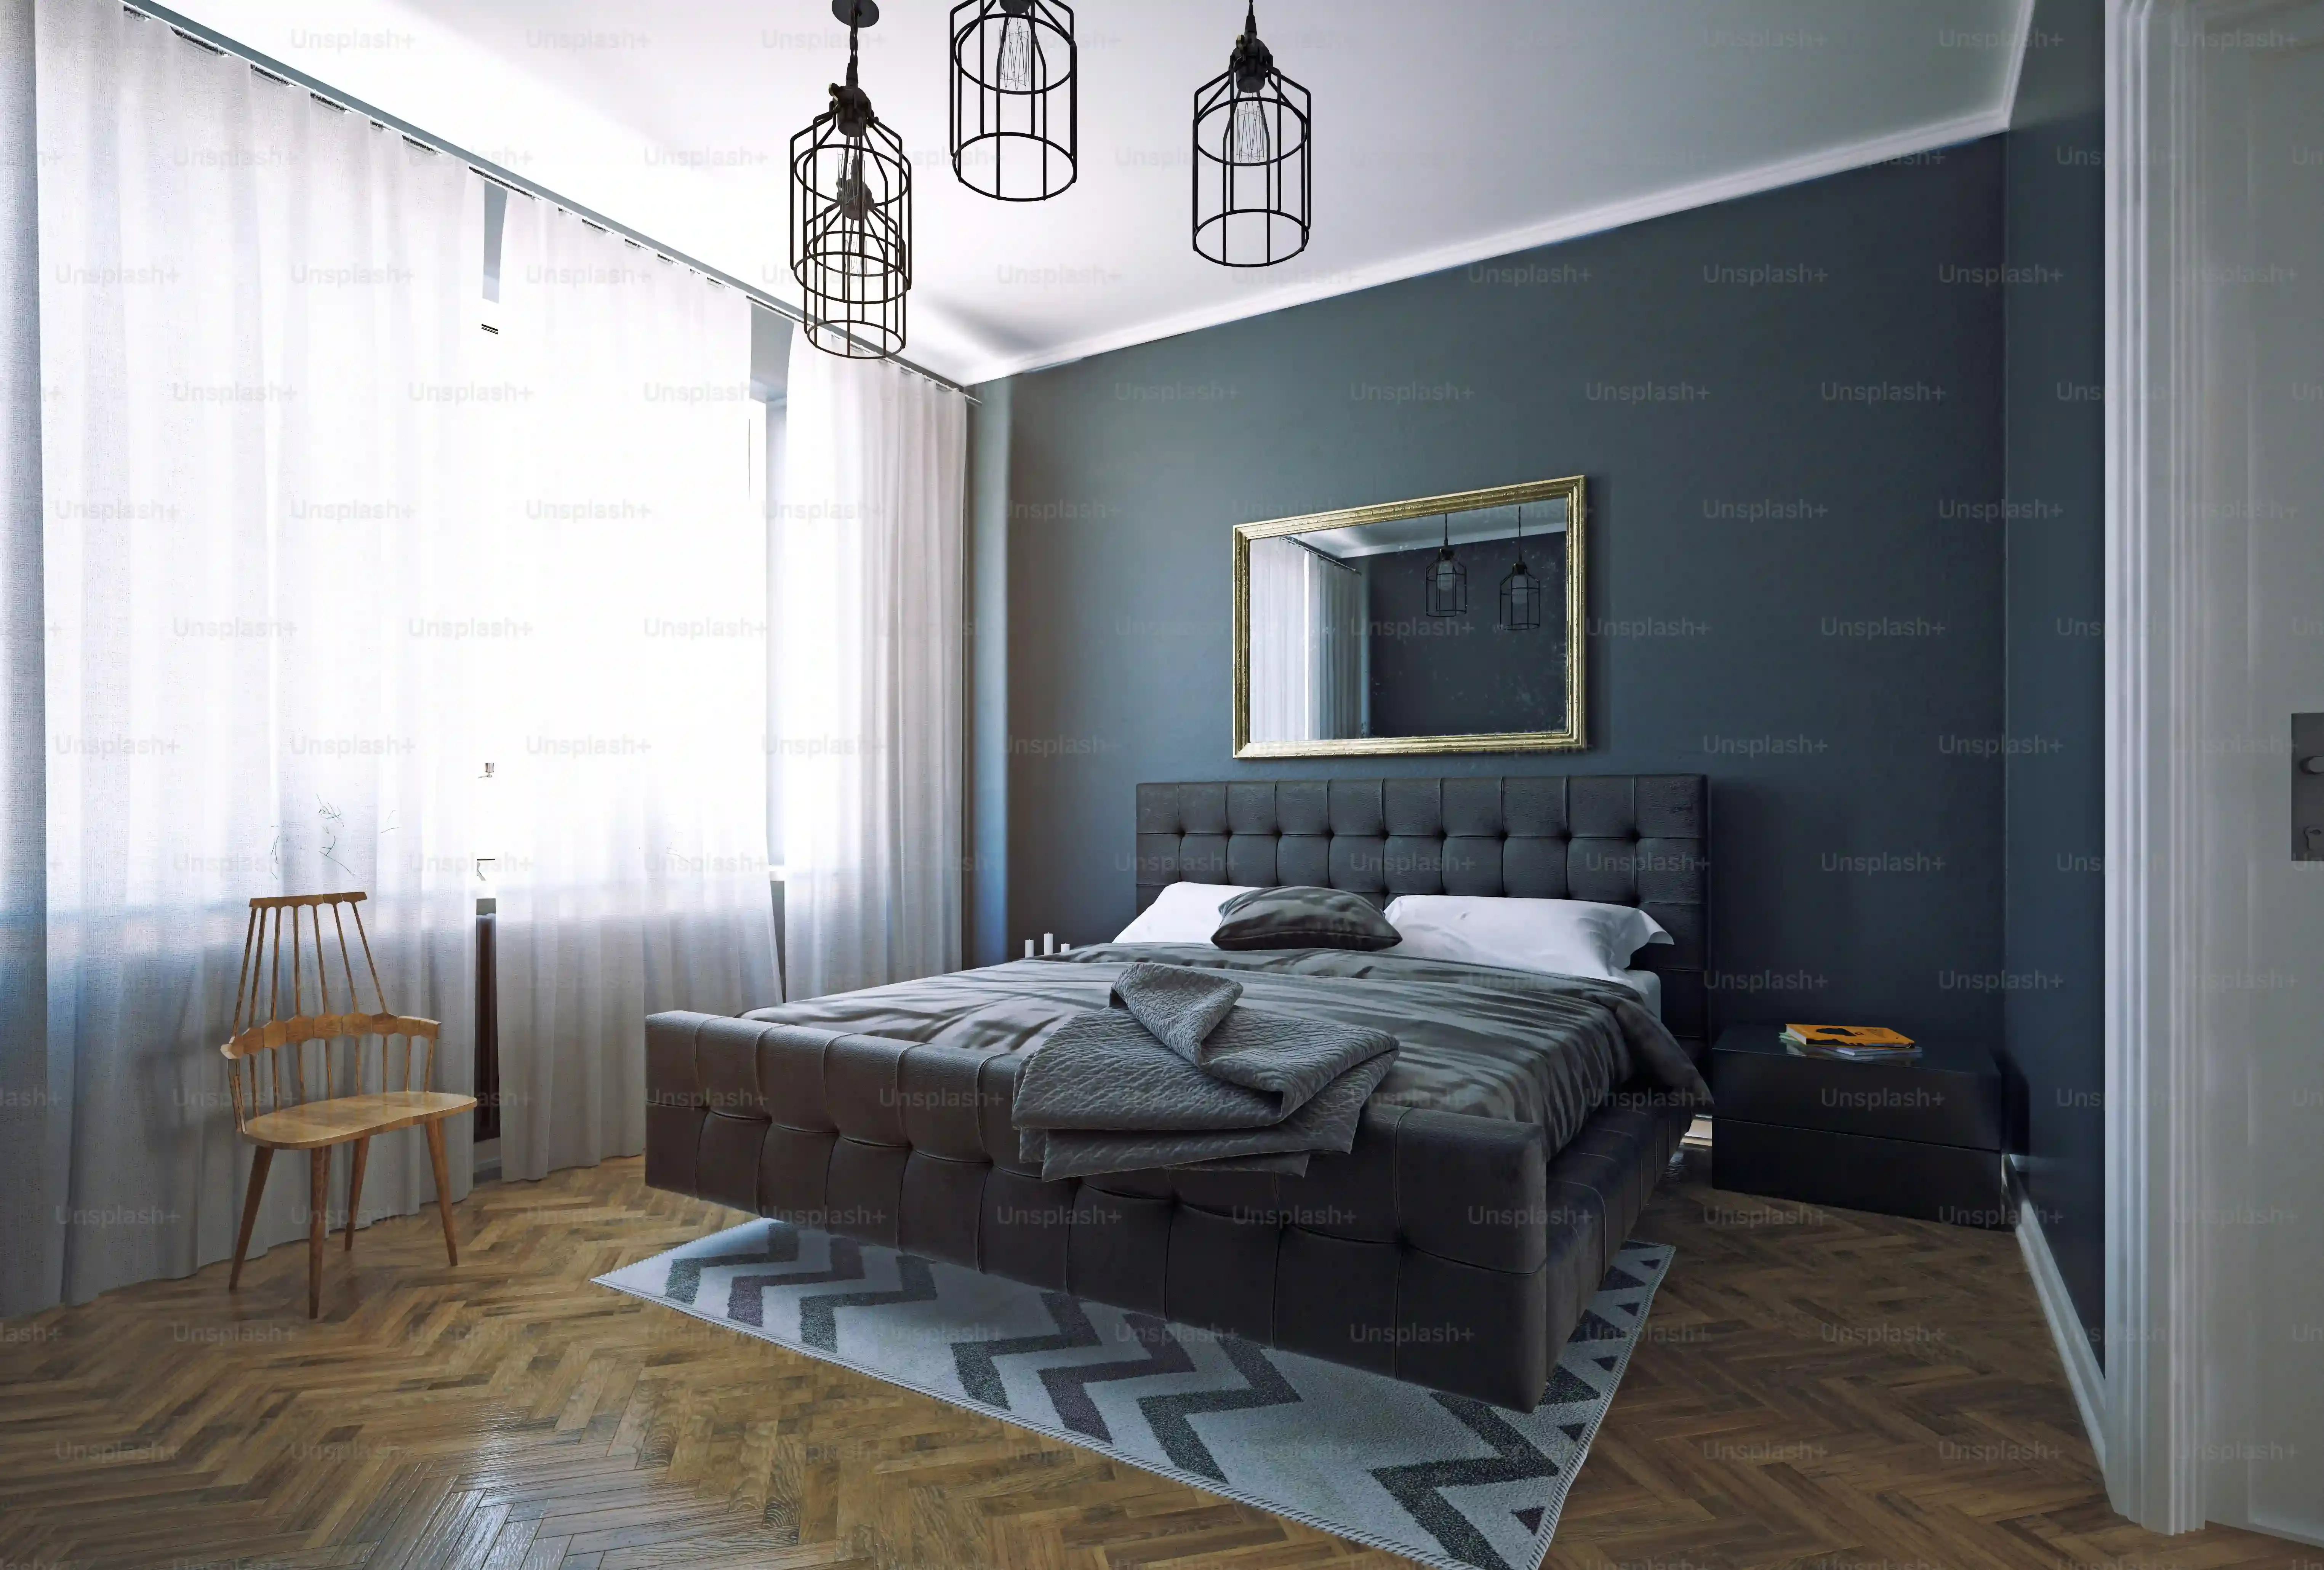
Beyond the cost savings, painting lets you inject personality into your space. Mass-produced furniture is fine, but it rarely feels *you*. Want a vibrant turquoise dresser that pops against a neutral wall? Go for it. Prefer a sophisticated matte black finish on your bedside table? Easy. You control the color, the finish, even add details like stencils or distressing.
This isn't about settling for what's available; it's about creating something unique. It's about taking a generic piece and making it a true reflection of your style, something that feels intentional and curated, right down to the hardware you choose.
- Saves significant money compared to buying new.
- Gives old, sturdy pieces a second chance.
- Allows for complete customization of color and finish.
- Creates unique furniture that reflects personal style.
- Offers a rewarding DIY project.
Prepping and Painting Your Bedroom Furniture Right
Prepping and Painting Your Bedroom Furniture Right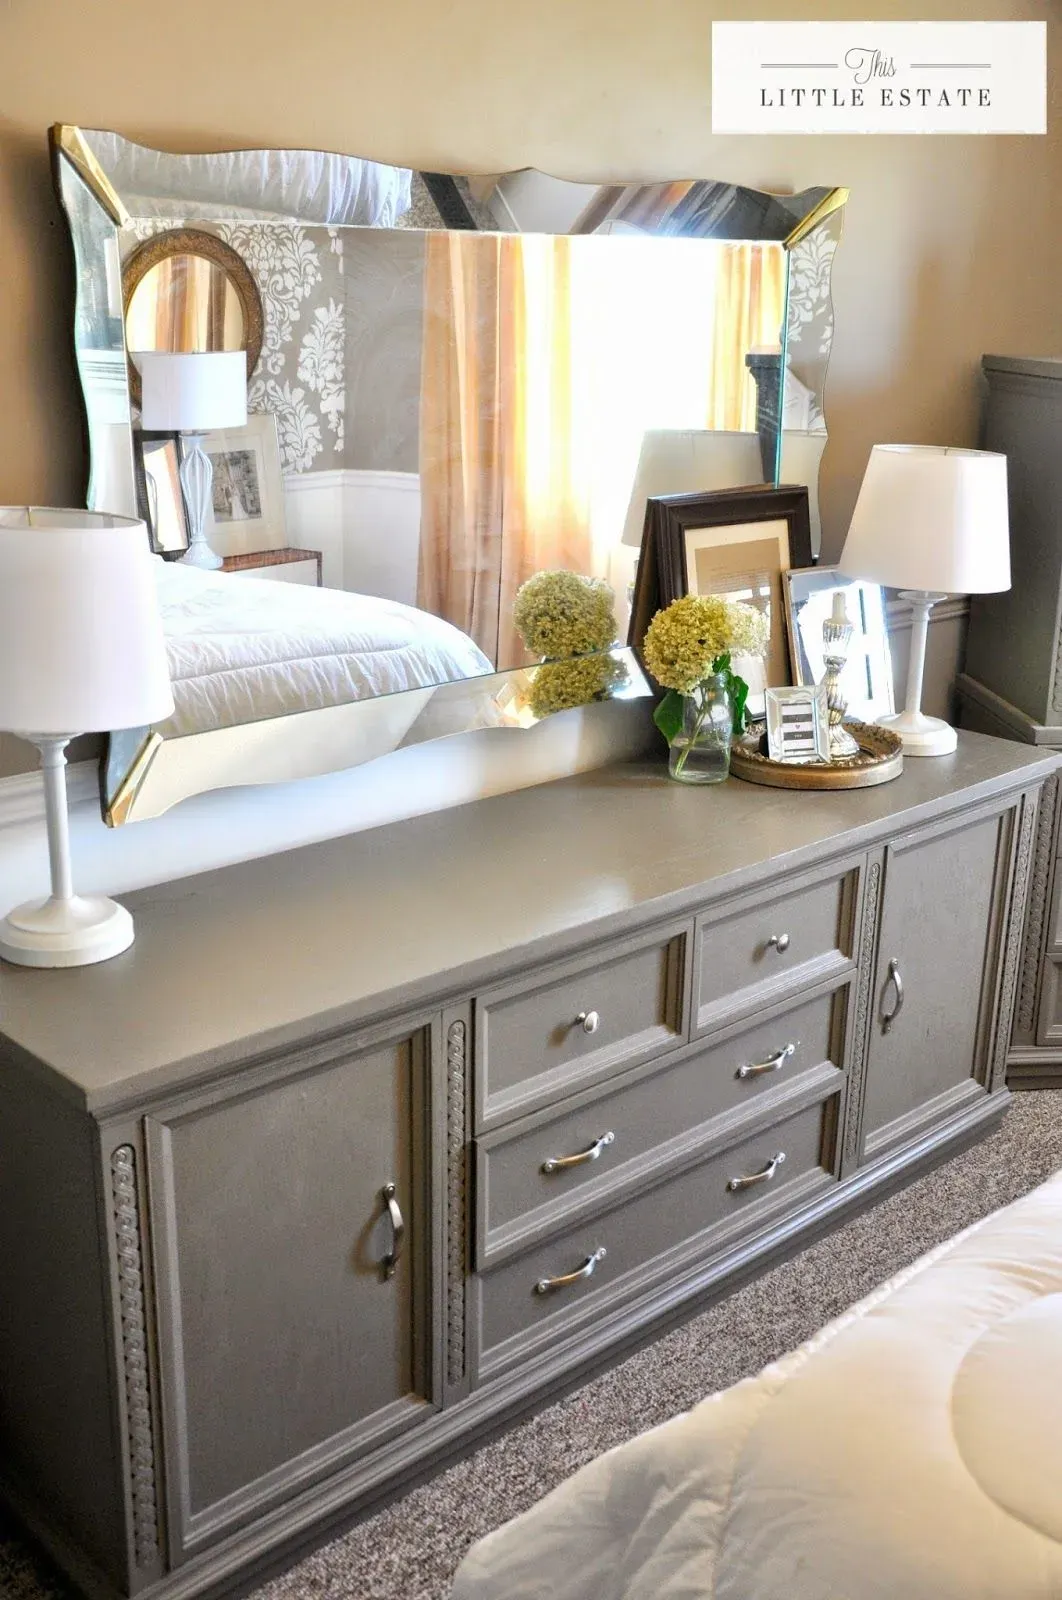
Cleaning and Sanding: Not the Fun Part, But Essential
let's talk prep. Nobody loves this part, myself included. It's messy, it takes time, but trust me, skipping it is like building a house on sand. You need a clean, smooth surface for that paint to stick properly. Start by giving your piece a really good scrub down. We're talking soap, water, maybe a little degreaser if it's greasy or waxy. Get all the grime, dust, and old polish off. Let it dry completely.
Then comes the sanding. If the old finish is chipped or peeling, you'll need to sand it smooth. Even if it looks okay, a light sanding (we call this 'scuffing' or 'keying' the surface) helps the primer grab on. You don't need to go down to bare wood unless the finish is really trashed. Just get rid of the shine. Use a medium-grit paper (like 120-grit) followed by a finer one (like 220-grit) for a silky finish. Wipe all that dust off thoroughly.
Priming is Your Best Friend, Painting is the Payoff
Now for primer. This is non-negotiable, especially when painting bedroom furniture that gets a lot of use. Primer blocks stains, helps the paint adhere, and gives you a uniform base color so your final paint color looks true. If you're going from dark to light, or painting over a tricky finish like laminate or veneer, a good quality bonding primer is key. Apply it evenly, following the can's instructions for drying time. Sometimes two coats are necessary, particularly if you're covering a dark wood or strong color.
Finally, the fun part: painting! Thin, even coats are your goal here, not one thick gloopy mess. Use a good quality brush or roller designed for furniture. Paint with the grain where possible. Let each coat dry completely before applying the next. This is crucial for durability and a smooth finish. Depending on your color and paint type, you'll likely need two or three coats. Be patient. It's worth it for that beautiful, durable painted bedroom furniture finish.
Prep Step | Why It Matters | Tool/Material |
|---|---|---|
Cleaning | Removes dirt, grease, polish for better adhesion | Soap, water, degreaser, rags |
Sanding | Smooths imperfections, creates 'grip' for primer | Sandpaper (120, 220 grit), sanding block/tool |
Priming | Blocks stains, improves adhesion, ensures true paint color | Quality primer (bonding primer if needed), brush/roller |
Techniques and Styles for Your Painted Bedroom Furniture
Techniques and Styles for Your Painted Bedroom Furniture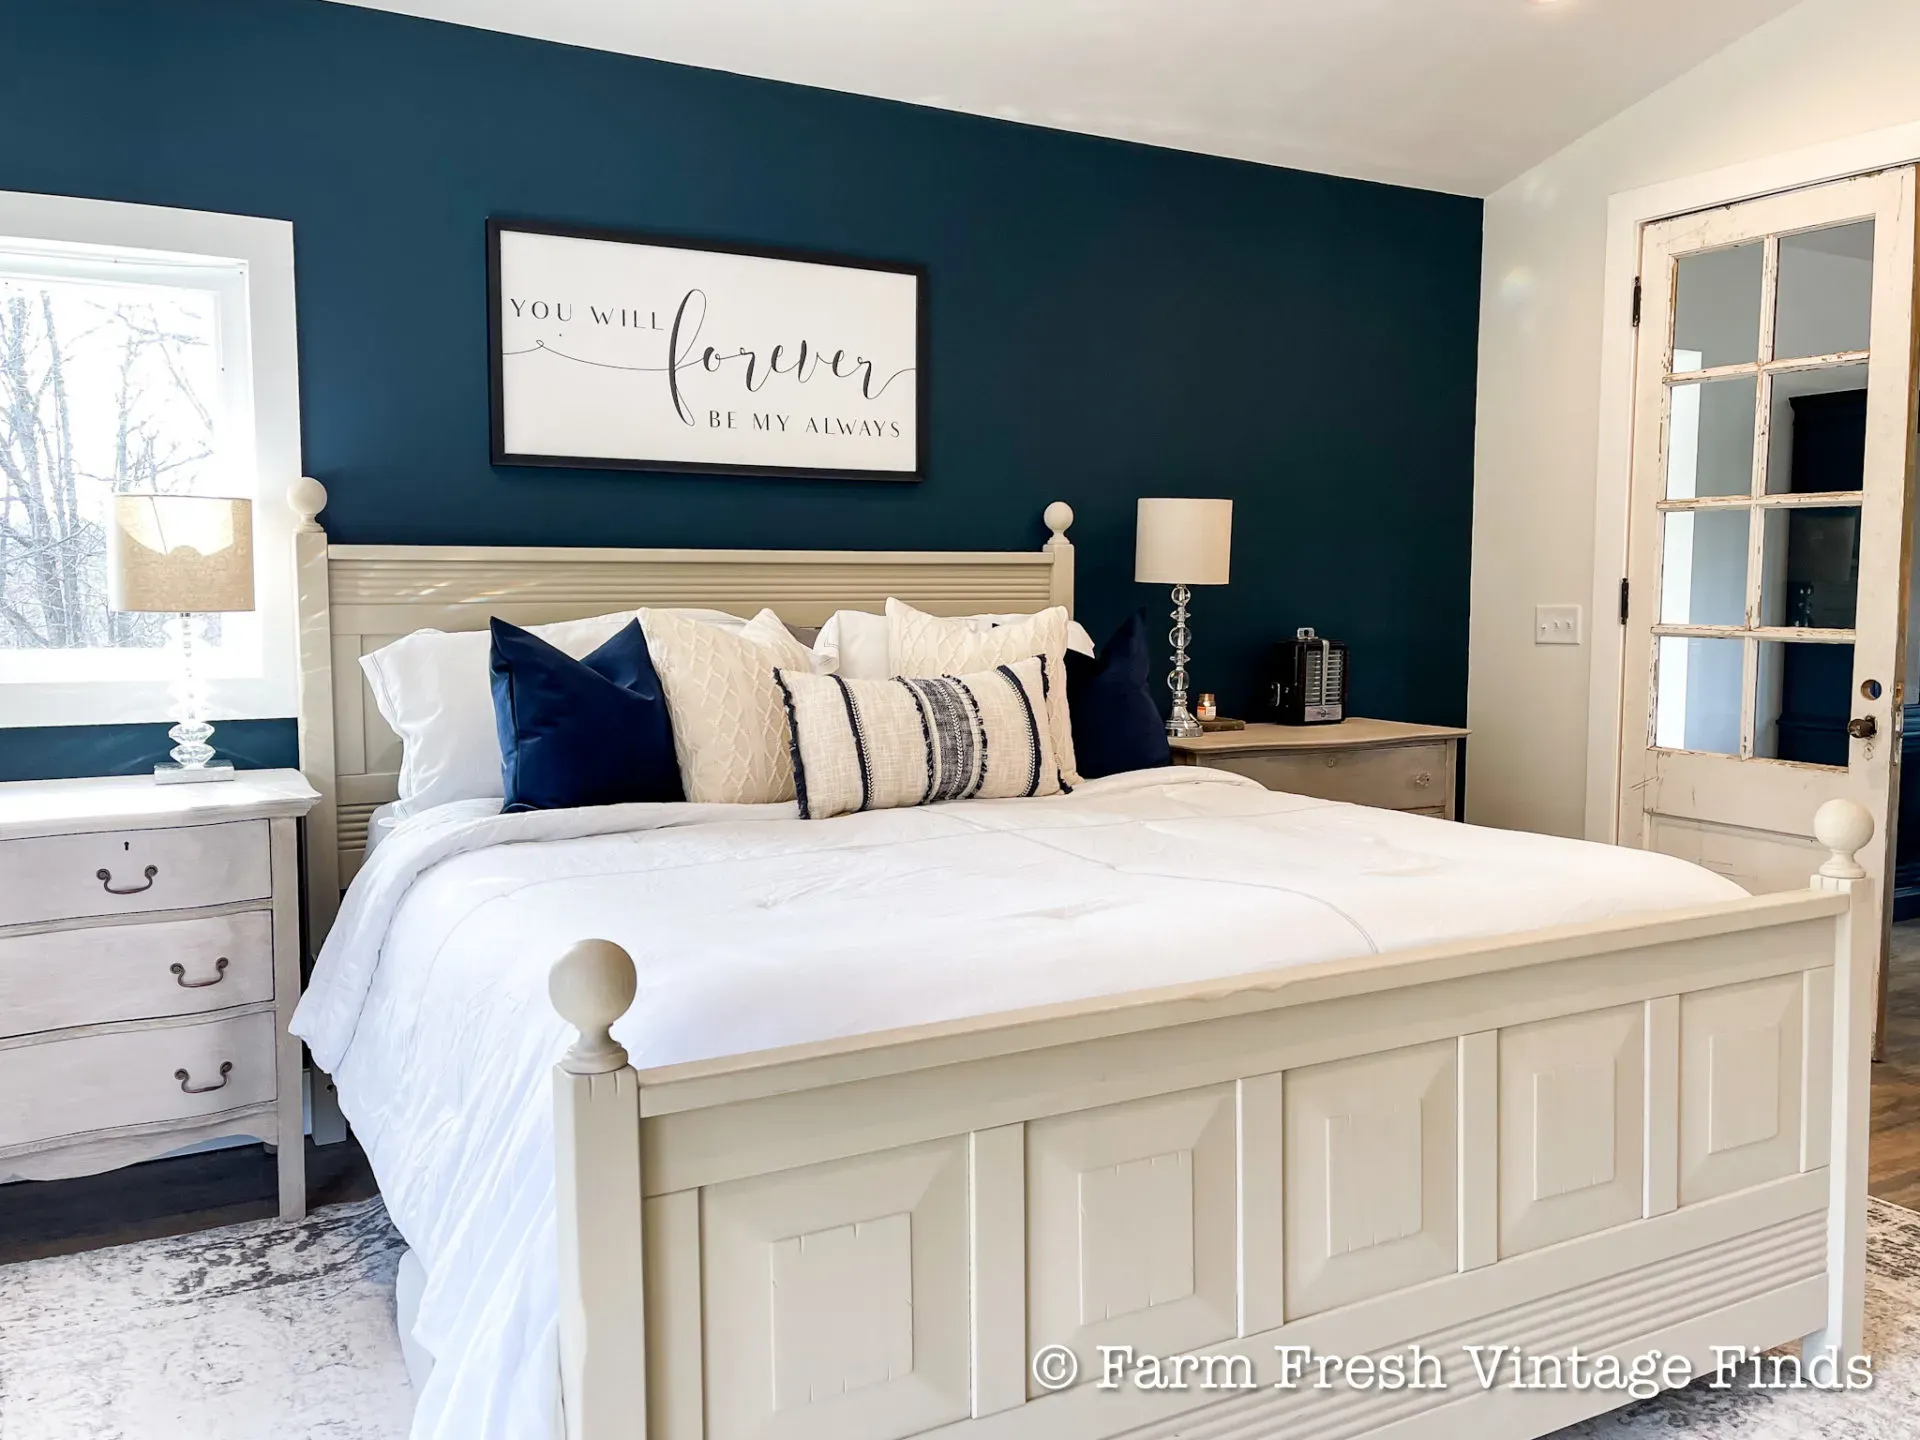
Beyond the Basic Brushstroke: Making Your Mark
so you've prepped and primed, and your piece is a blank canvas. Now for the fun part: choosing your style. Painting bedroom furniture isn't just about slapping on a coat of beige and calling it a day. You can go sleek and modern with a smooth, high-gloss finish. Or maybe you prefer the charm of distressed furniture, where layers of paint peek through, telling a story. Chalk paint is fantastic for that aged, matte look and often requires less prep, which is a win in my book. You could also try a two-tone effect, painting the body one color and the drawers another, or add subtle details with stencils. The goal is to pick a technique and color that fits the vibe you want for your bedroom, whether that's a calm retreat or a vibrant statement.
- Sleek and modern: Use a smooth, durable paint with a roller for minimal brush strokes.
- Distressed/Shabby Chic: Apply two contrasting colors, then sand strategically to reveal the undercoat.
- Bold Statement: Choose a vibrant color and apply evenly for a pop of personality.
- Two-Tone: Paint different sections (like the frame and drawers) in complementary colors.
- Stenciling: Add patterns or designs using stencils and a contrasting paint color.
Painted Bedroom Furniture: Before and After Transformations
Painted Bedroom Furniture: Before and After Transformations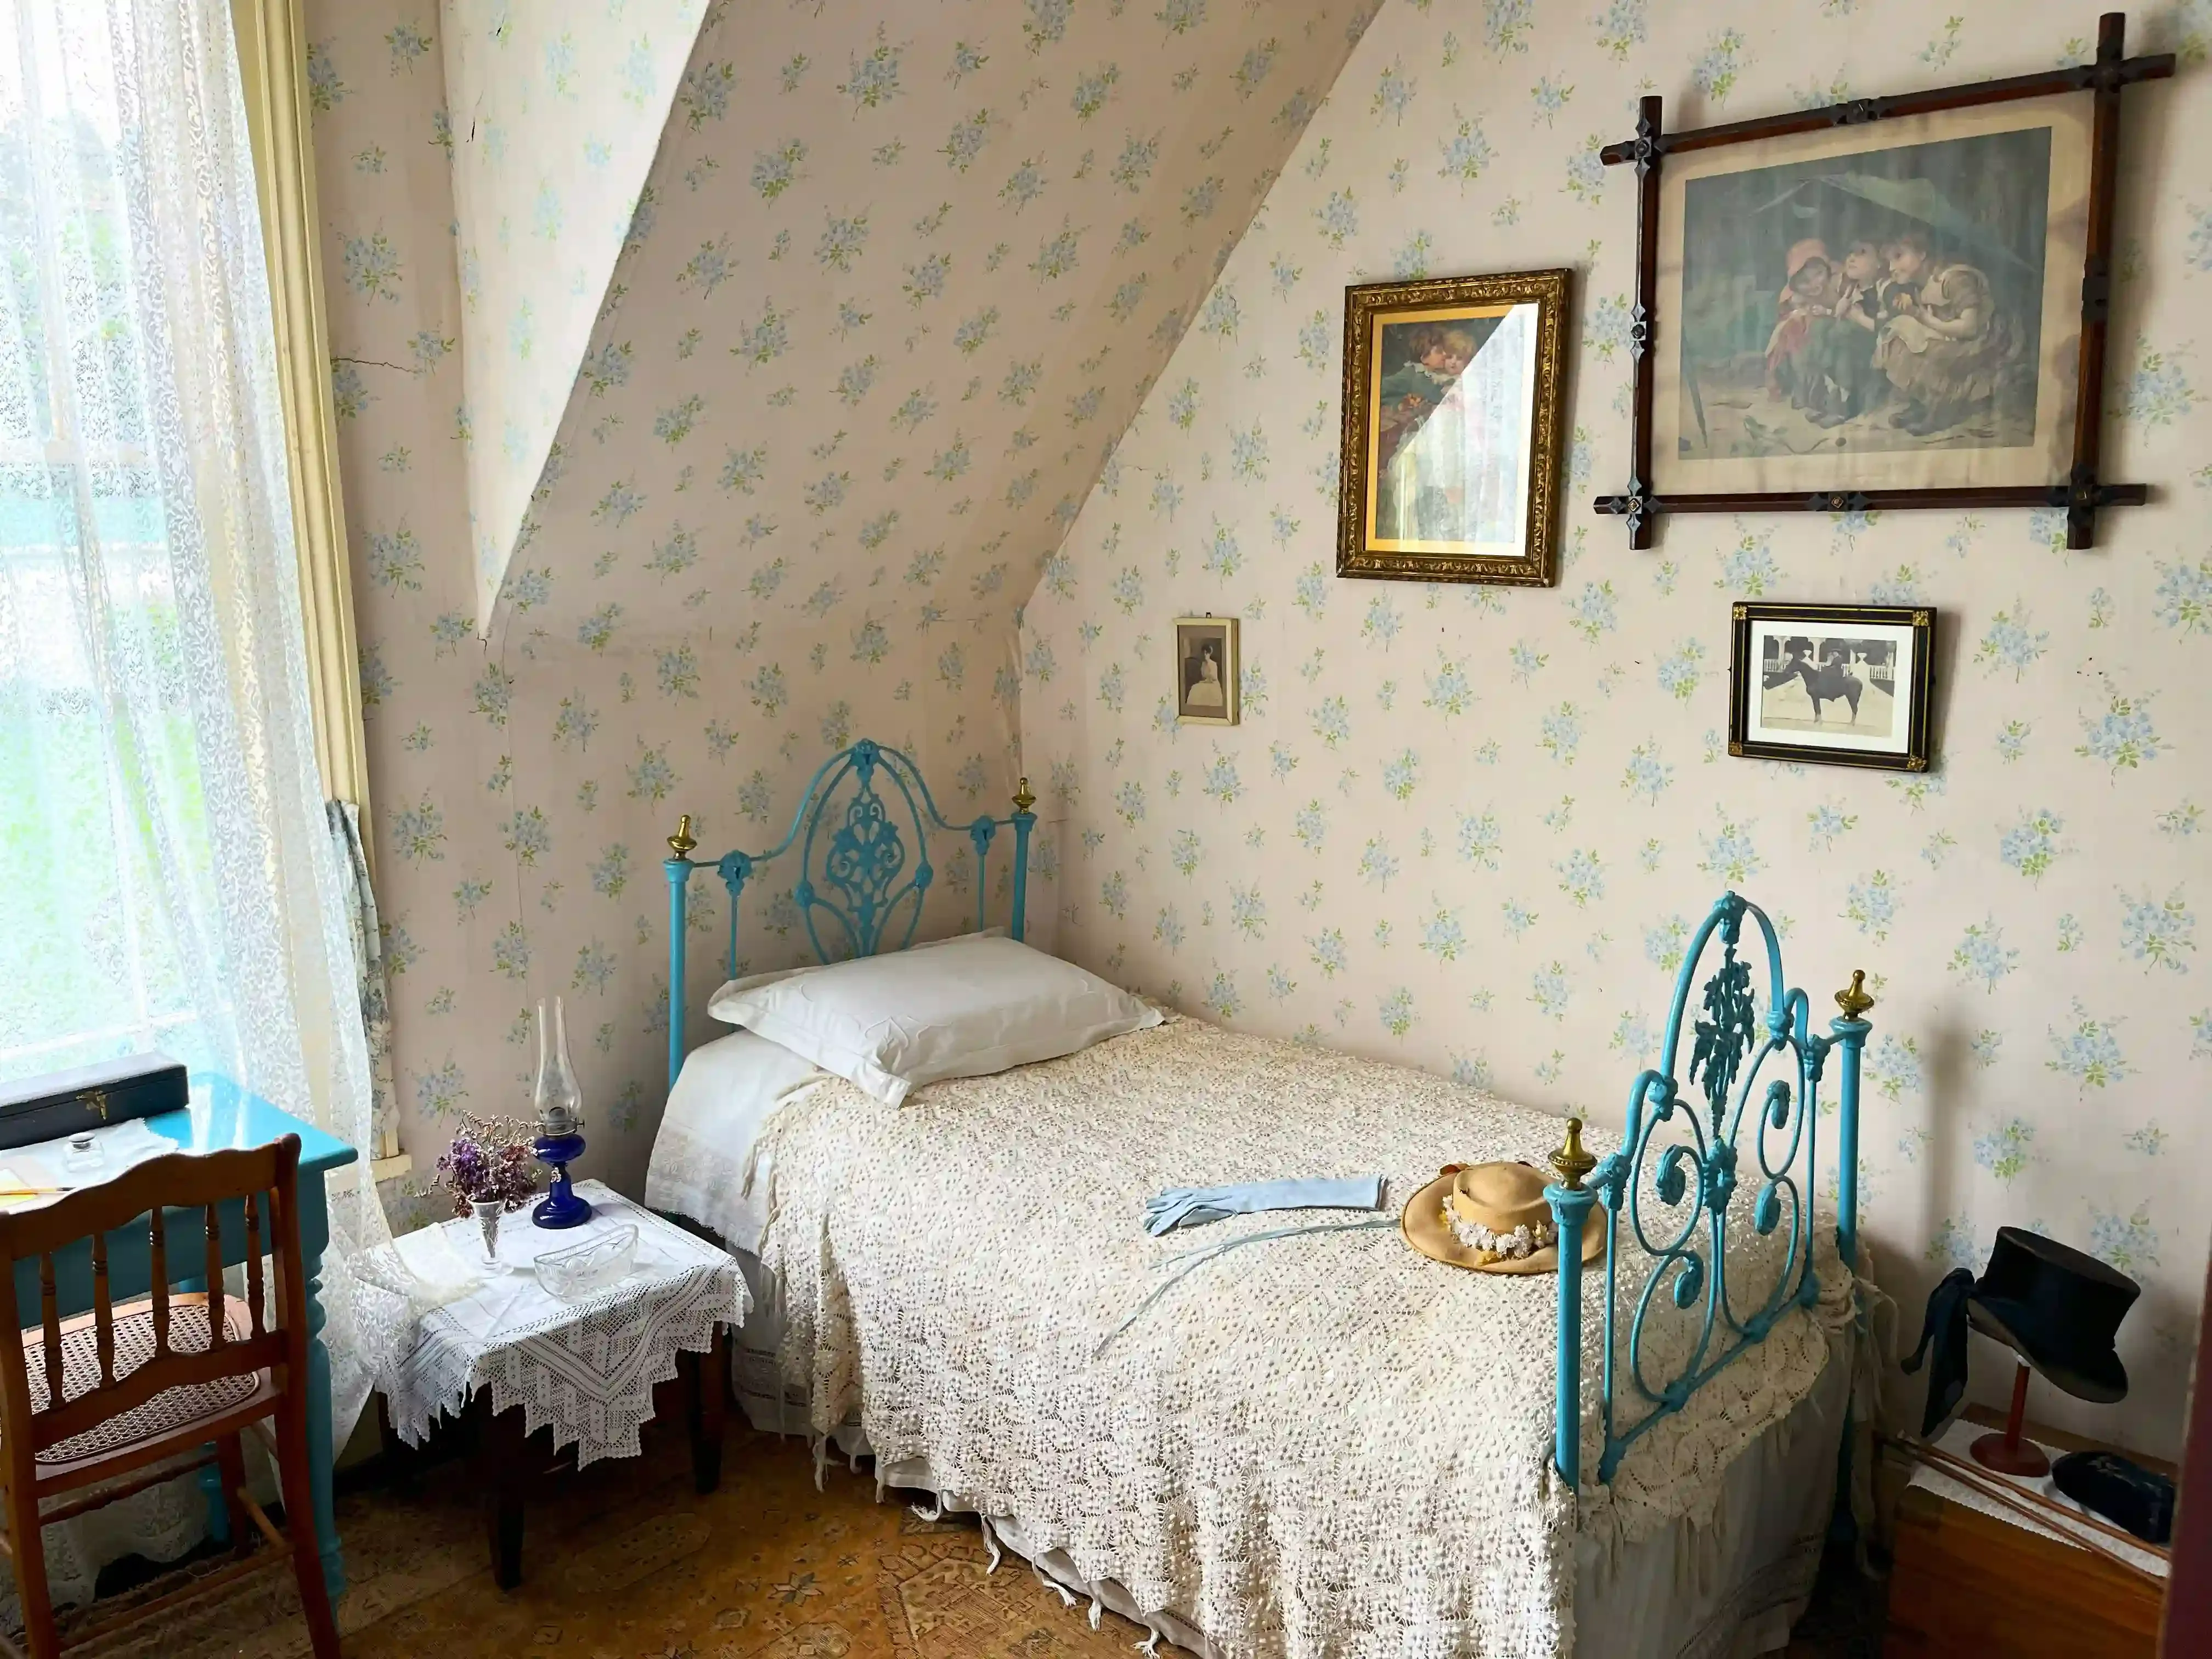
Seeing is Believing: The Power of Paint
You hear people talk about the magic of paint, and honestly, sometimes it sounds like hyperbole. But when you see a genuinely beat-up, dark wood dresser from the 70s – the kind that screams "grandma's basement" – get a fresh coat of crisp white or a bold navy, it's pretty undeniable. These aren't minor touch-ups; we're talking complete personality transplants. Suddenly, that heavy, dated piece feels light, modern, and perfectly suited for a bright bedroom.
I saw a project once where someone took a really scratched-up pine chest of drawers. It was functional but ugly. They cleaned it, did minimal sanding, used a good primer, and then painted it a deep forest green. They swapped out the cheap wooden knobs for some sleek brass pulls. The difference was astonishing. It went from something you'd hide in a closet to the focal point of the room. That's the kind of power we're talking about with painted bedroom furniture.
From Drab to Fab: It's Often Simpler Than You Think
People often scroll through Pinterest or Instagram and see these incredible painted bedroom furniture makeovers and think, "Yeah, but I could never do that." And while some projects require advanced techniques, many of the most dramatic transformations are surprisingly straightforward. It often boils down to solid prep work, choosing the right paint, and applying thin, even coats. The "before" pictures might show chipped veneer, water rings, or just a desperately outdated color.
The "after" is smooth, vibrant, and looks custom. It's the kind of result that makes you look at that dusty old piece in your garage and think, " maybe there's hope." The beauty of painted bedroom furniture is that even a simple color change can make a world of difference, proving that you don't need to be a professional artist to achieve impressive results.
Common "Before" Scenarios:
- Scratched or worn original finish
- Outdated wood tone (think orange-y oak or dark cherry)
- Chipped veneer or paint
- Generic, mass-produced appearance
- Furniture inherited or found second-hand
Keeping Your Painted Bedroom Furniture Looking Fresh
Keeping Your Painted Bedroom Furniture Looking Fresh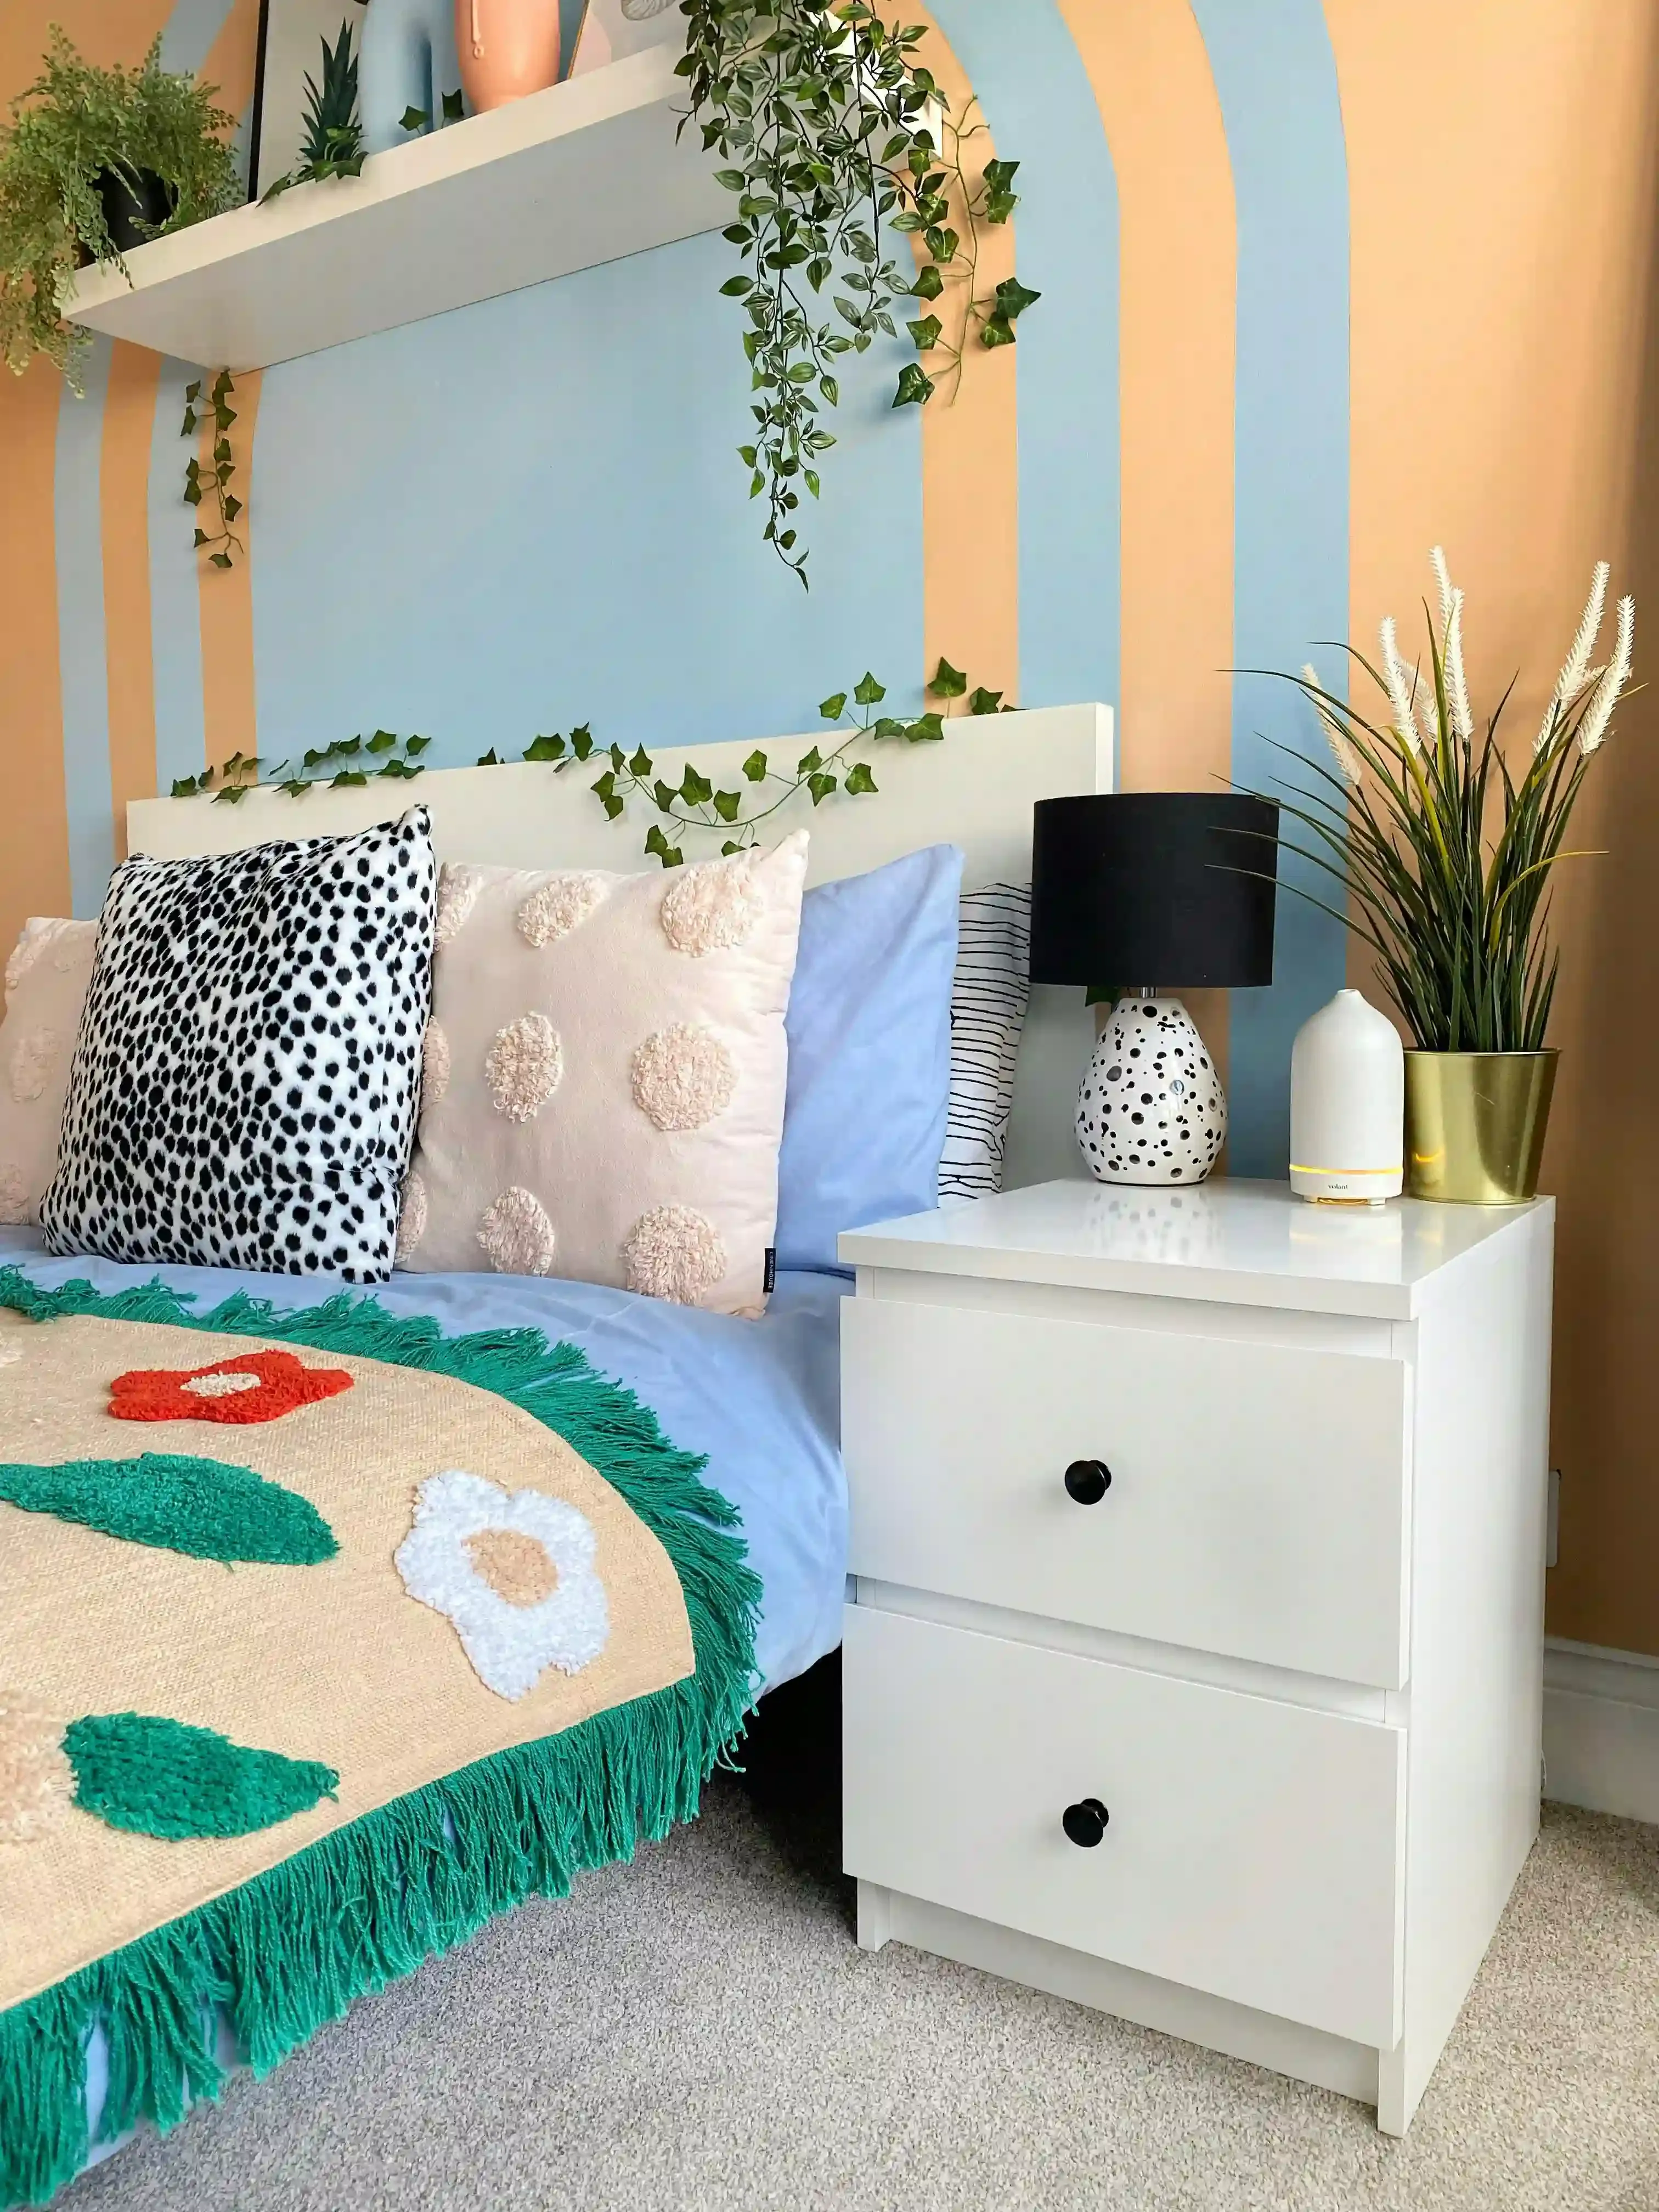
Keeping That Fresh Look Alive
Alright, so you've put in the work, transformed that old piece, and now you've got stunning painted bedroom furniture. The last thing you want is for it to get scratched or chipped immediately. Keeping your painted bedroom furniture looking fresh requires a little ongoing care, but it's not rocket science. Think of it like protecting your investment in time and effort. A durable topcoat or sealant is your first line of defense – it shields the paint from daily wear and tear, spills, and bumps. Polyurethane or a good quality furniture wax can do the trick, depending on the finish you want (poly is more durable, wax gives a softer feel). Apply thin coats and let them cure properly.
- Use coasters under drinks to prevent rings.
- Avoid dragging sharp objects across the surface.
- Clean spills immediately with a soft, damp cloth.
- Use gentle cleaning products; harsh chemicals can damage the finish.
- Reapply wax or sealant periodically as needed.
The Final Brushstroke on Your Bedroom Makeover
So, you've seen the potential, navigated the prep work, and hopefully applied a coat or two of paint without major incident. Transforming your bedroom furniture isn't magic; it's elbow grease and a can of paint. The result? Pieces that no longer fade into the background but actively contribute to the room's vibe. They might not look factory-perfect – and honestly, why would you want them to? – but they're uniquely yours. Keep an eye on them, touch up the inevitable nicks, and enjoy a space that feels deliberately curated, not just furnished. It's a tangible change you made yourself, and that's usually worth more than a showroom tag.