Table of Contents
Got some bedroom furniture that's seen better days? Maybe that dresser clashes with your new bedding, or those nightstands are just plain boring. Instead of shelling out big bucks for new pieces, why not give your old furniture a fresh, stylish makeover? Learning how to paint bedroom furniture is easier than you might think, and it's a fantastic way to personalize your space without breaking the bank. In this guide, I'll walk you through the simple steps to prep your furniture, apply a smooth, lasting coat of paint, and seal it all for durability. Ready to transform your bedroom with a splash of color and a bit of elbow grease? Let's get started!
Getting Ready to Paint Your Bedroom Furniture
Getting Ready to Paint Your Bedroom Furniture
Gather Your Supplies: The Prep Rally
Alright, so you're itching to transform that old dresser. First things first: you gotta round up your gear. Think of it like prepping for a mini-marathon, but instead of running shoes, you need brushes and paint. Trust me, having everything ready before you start will save you a ton of frustration (and messy hands!). I remember one time I was painting a bedside table and realized halfway through I was out of painter's tape. Cue the frantic search and slightly uneven paint lines. Learn from my mistakes!
You'll want to grab some essentials like sandpaper (various grits are handy), a good quality primer, your chosen paint color (more on that later!), paintbrushes (different sizes are useful), rollers for larger surfaces, painter's tape (the blue kind is your friend), drop cloths to protect your floor, and some cleaning supplies like soap and water or a degreaser. Don't forget safety goggles and maybe some gloves – nobody wants paint permanently embedded in their skin. Think of this as your artist's toolkit for furniture.
Prepping Your Piece: Clean, Smooth, Ready to Go
Now that you've got your arsenal of supplies, it's time to get your furniture ready for its makeover. Imagine trying to paint on a dusty, sticky surface – the paint won't adhere properly, and you'll end up with a less-than-stellar finish. So, step one is a good cleaning. Wipe down your furniture with a damp cloth and some mild soap. If it's particularly grimy, a degreaser can work wonders. Let it dry completely – patience is key here.
Next up: sanding. This might sound tedious, but it's crucial for creating a smooth surface for the paint to grip. You don't need to sand down to bare wood unless the existing finish is really glossy or damaged. A light sanding, just enough to "scuff" the surface, will do the trick. Use a medium-grit sandpaper for this. If there are any rough spots or imperfections, you might need to use a coarser grit first, followed by a finer one to smooth it out. Once you're done sanding, wipe away all the dust with a tack cloth or a damp cloth. No one likes little paint boogers from dust!
StepbyStep: How to Paint Bedroom Furniture Like a Pro
StepbyStep: How to Paint Bedroom Furniture Like a Pro
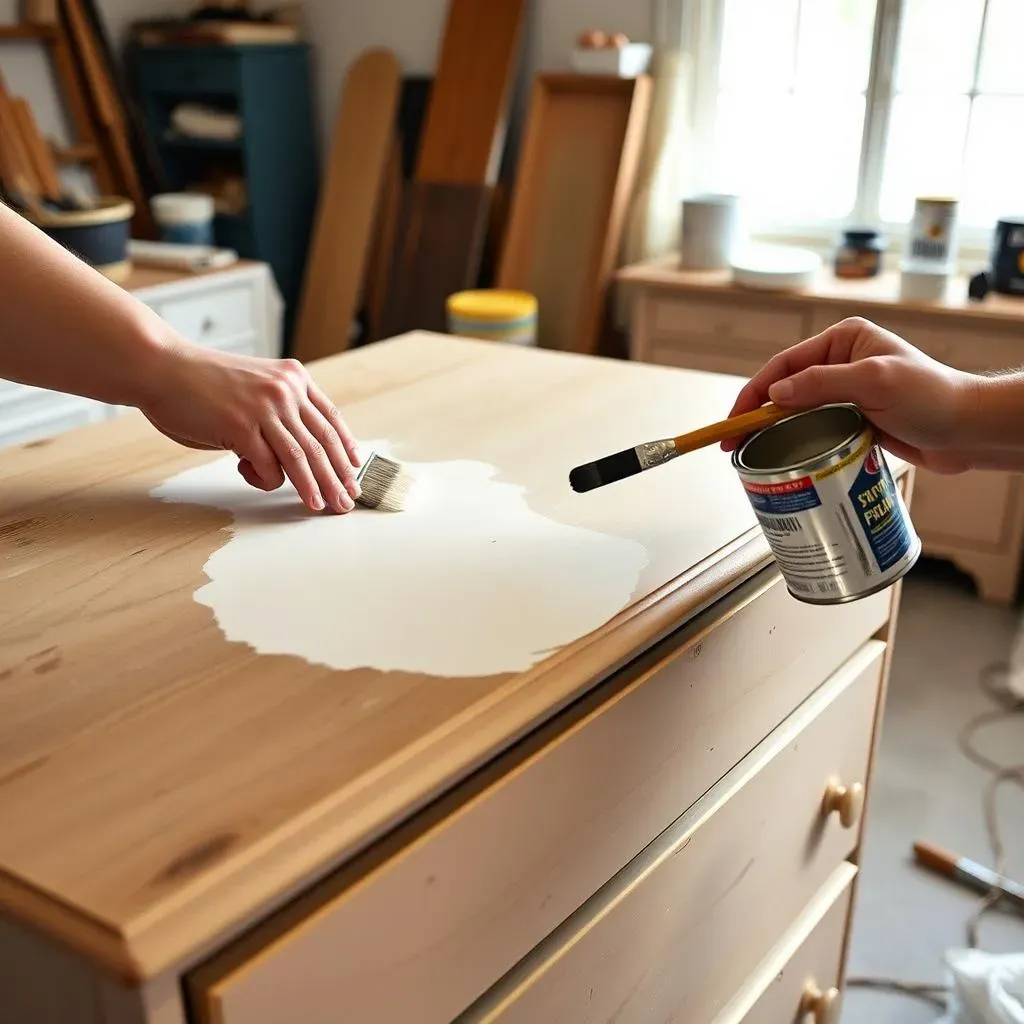
Priming is Key: The Undercoat Magic
now for the fun part – almost! Before we get to the color, let's talk primer. Think of primer as the unsung hero of any paint job. It helps the paint stick better, covers up any stains or dark colors underneath, and gives you a more even finish. Trust me, skipping primer is like trying to bake a cake without flour – it's just not going to turn out right. I once tried to paint a dark wood headboard white without priming. Let's just say it took about five coats of paint and still looked a bit shadowy. Don't be like me.
Grab your primer and a good quality brush or roller. Apply a thin, even coat over the entire surface of your furniture. Don't glob it on – drips are a pain to fix. Let the first coat dry completely according to the manufacturer's instructions. Sometimes, especially if you're painting over a dark color or a glossy finish, you might need a second coat of primer. Once it's dry, lightly sand it with fine-grit sandpaper to smooth out any bumps. Wipe away the dust, and you're ready for the main event!
Painting with Pizzazz: Bringing the Color
Alright, the moment we've been waiting for – time to add some color! Choose your paint wisely. For furniture, especially bedroom furniture, a good quality acrylic latex paint is usually a solid choice. It's durable, easy to clean, and comes in a gazillion colors. Don't skimp on the paint – cheaper paints often require more coats and don't hold up as well. I have my go-to brands, but experiment and find what you like.
Using a clean brush or roller, apply thin, even coats of paint. Resist the urge to slather it on thick to get it done faster. Multiple thin coats are the secret to a smooth, professional-looking finish. Let each coat dry completely before applying the next. Patience, young Padawan. Depending on the color and the paint, you'll likely need two to three coats for full coverage. If you're painting drawers, remember to paint the edges too! Those little details make a big difference.
Step | Action | Why It Matters |
|---|---|---|
1 | Apply thin coat of primer | Ensures paint adhesion and even coverage. |
2 | Let primer dry completely | Prevents paint from peeling or looking uneven. |
Finishing Touches: Sealing Your Painted Bedroom Furniture
Finishing Touches: Sealing Your Painted Bedroom Furniture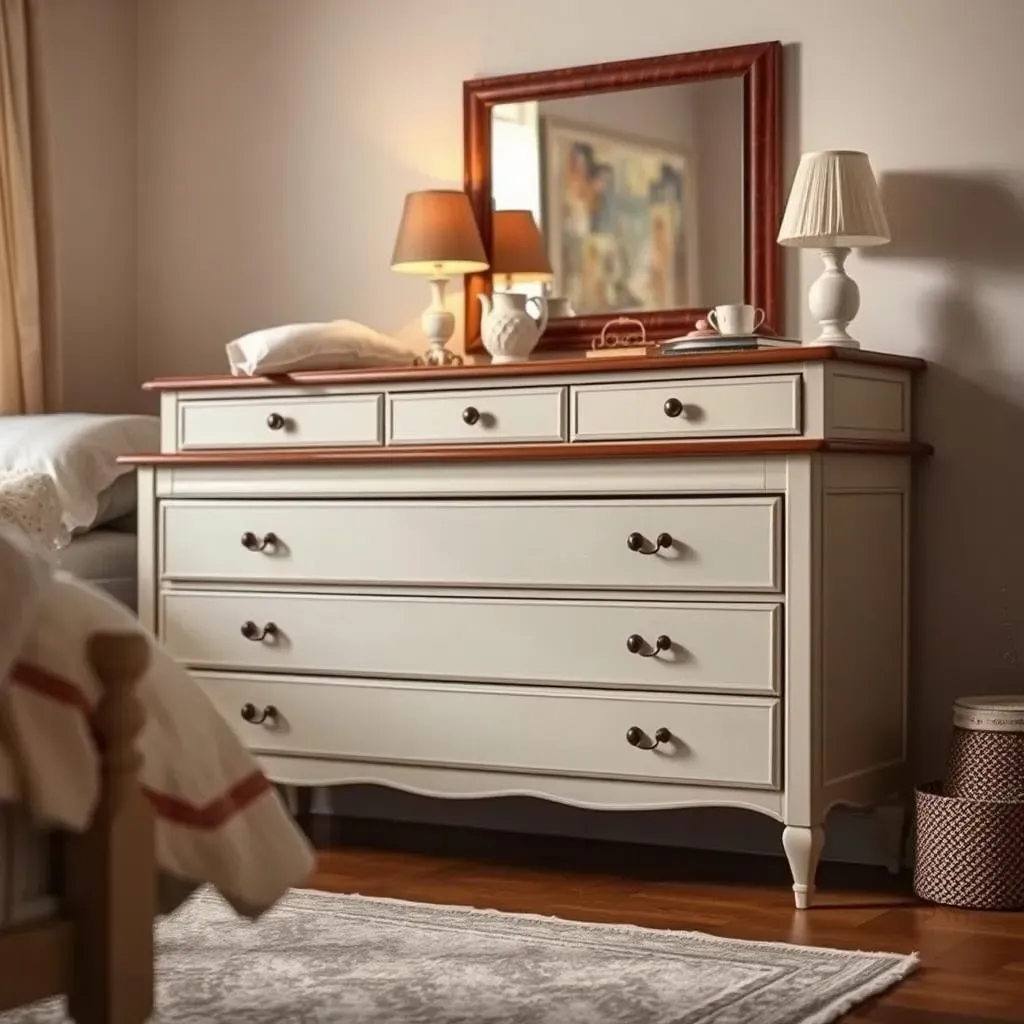
Sealing the Deal: Protecting Your Masterpiece
Don't even think about skipping this step! You've put in the effort to prep and paint, so now it's time to protect your handiwork. Sealing your painted bedroom furniture is like putting a superhero cape on it – it guards against scratches, chips, and everyday wear and tear. Imagine spending hours painting a beautiful dresser, only to have the finish marred by a rogue coffee cup. Nightmare scenario, right? There are a few main types of sealers you can use, but for most furniture projects, a water-based polycrylic is a fantastic choice. It's durable, dries clear (so it won't yellow your pretty paint job), and cleans up easily with soap and water. Oil-based polyurethanes are tougher, but they can yellow over time and require mineral spirits for cleanup – a bit more of a hassle, if you ask me.
Grab a clean brush and apply thin, even coats of your chosen sealer. Just like with painting, resist the urge to glop it on. Two to three thin coats are usually ideal, allowing each coat to dry completely in between. Lightly sand with a very fine-grit sandpaper (think 320 or higher) between coats to ensure a super smooth finish. This also helps the next coat of sealer adhere properly. Wipe away any sanding dust before applying the next coat. Trust me, taking the time to seal your painted bedroom furniture properly will make all the difference in how long your beautiful new finish lasts. It's the unsung hero of a long-lasting paint job, making your hard work worthwhile.
Sealer Type | Pros | Cons |
|---|---|---|
Water-based Polycrylic | Durable, clear finish, easy cleanup | Not as tough as oil-based |
Oil-based Polyurethane | Very durable | Can yellow, requires mineral spirits for cleanup |
Your Bedroom Furniture, Reimagined
So, there you have it! You've learned how to paint your bedroom furniture and give it a brand-new lease on life. Remember, a little patience and the right steps can transform tired pieces into something you truly love. Don't be afraid to experiment with colors and finishes to match your style. Now go ahead, grab a brush, and make your bedroom furniture shine!